Search for answers or browse our knowledge base.
How to get hCaptcha keys
CAPTCHA 4WP is able to connect to different CAPTCHA providers, including hCaptcha. hCaptcha is a free alternative service to Google reCAPTCHA.
To display hCaptcha CAPTCHA checks on your WordPress website, CAPTCHA 4WP needs to be able to connect to the hCaptcha service. To connect, you need a key pair that includes a Site Key and a Secret Key. You can get this key pair from hCaptcha’s website. This knowledge base entry will show you how.
Step 1: Sign up for hCaptcha
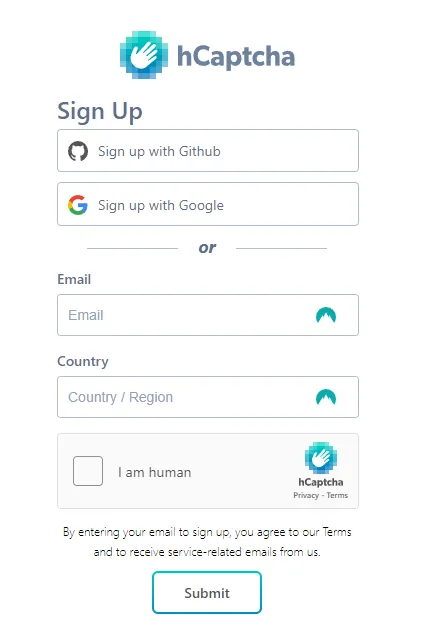
If you don’t already have an account, head to hCaptcha’s website
and click on the Sign Up button. When prompted, choose between the free service for publishers or Enterprise, depending on your requirements.
You can sign up to hCaptcha using your Google or GitHub account. Alternatively, you can create an hCaptcha account.

Step 2: Copying the Site and Secret keys
Once you sign up, you’ll be welcomed by the Let’s get started screen. Here you’ll find your first Site and Secret key. Copy these keys to a safe location but don’t worry if you don’t manage; you can also retrieve them later. Once ready, click Continue.

A note about site and secret keys
Site keys are keys that identify a particular website. As such, you’ll need one site key for every WordPress website that you have. On the other hand, the secret key identifies your account, so you’ll only need just one. The same secret key can be used across all of your sites.

Step 3: Configure your sites
Since hCaptcha has already set up a Site Key for us, we just need to go ahead and configure the first site on our hCaptcha account.
From the main menu, click on Sites as highlighted in the screenshot below:
Once the Sites screen loads, you should see one entry under Active Sites. This is the Site Key that hCaptcha created for us during the sign-up process. Click on Settings to configure the Site Key.

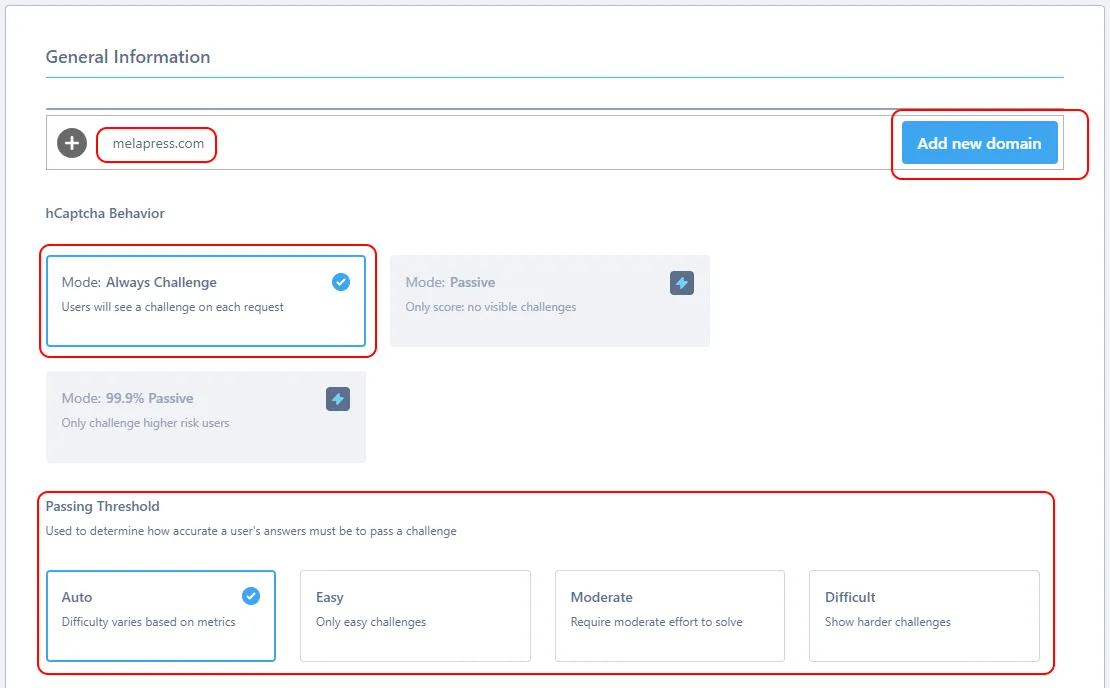
- In the General Information section, first enter the domain of your WordPress website and then click on Add new domain.

A note about hCaptcha Behavior: At the moment CAPTCHA 4WP only supports the Always Challenge mode.
2. Lastly, choose your preferred Passing Threshold – depending on your requirements.
3. Click the Save button located at the top of the screen.
Step 4: Configure the hCaptcha integration in the plugin and add CAPTCHA checks on your website
Now that you have the keys and you have configured your site and CAPTCHA on hCaptcha, proceed to the plugin, launch the wizard and configure the plugin.
To configure CAPTCHA 4WP to use hCaptcha, you’ll need the Site and Secret keys. If you did not manage to copy them in Step 2, you can get the Site key from the site settings (mentioned in step 3) and the Secret key from your hCaptcha account settings.
Follow the Getting started guide with CAPTCHA 4WP if you need assistance setting up the plugin.
Do you have more than 1 website?
If you have more than one WordPress website, you will need to create a Site key for each website that you have. This can be done from the Sites section in hCaptcha, as explained at the beginning of Step 3. Simply click on New Site and follow the same procedure we described in Step 3.
