


Updated on 7 October, 2026
How to customize email and SMS templates in WP 2FA
WP 2FA can send emails to users for several two-factor authentication (2FA) actions, for example:
- A user requests a login link
- A user requests a one-time login code via email
- A user sets up 2FA via email
- A user requests backup codes
- A user account is locked (because they did not configure 2FA within the grace period)
- A user account is unlocked
- A user requests a password reset code
In this guide, we’ll show you how to customize these emails to change their subject and content. We’ll also explain how to change the sender email address and name, edit SMS templates, and send a test email.
Note: Email and SMS template editing is available with the Enterprise plan. You can review all white labeling option in our customization guide.
Table of contents
How to access the email and SMS template settings
To access the email and SMS template settings:
- Log in to your WordPress dashboard.
- Go to WP 2FA > White labeling.
- Click Customize emails & SMS templates.
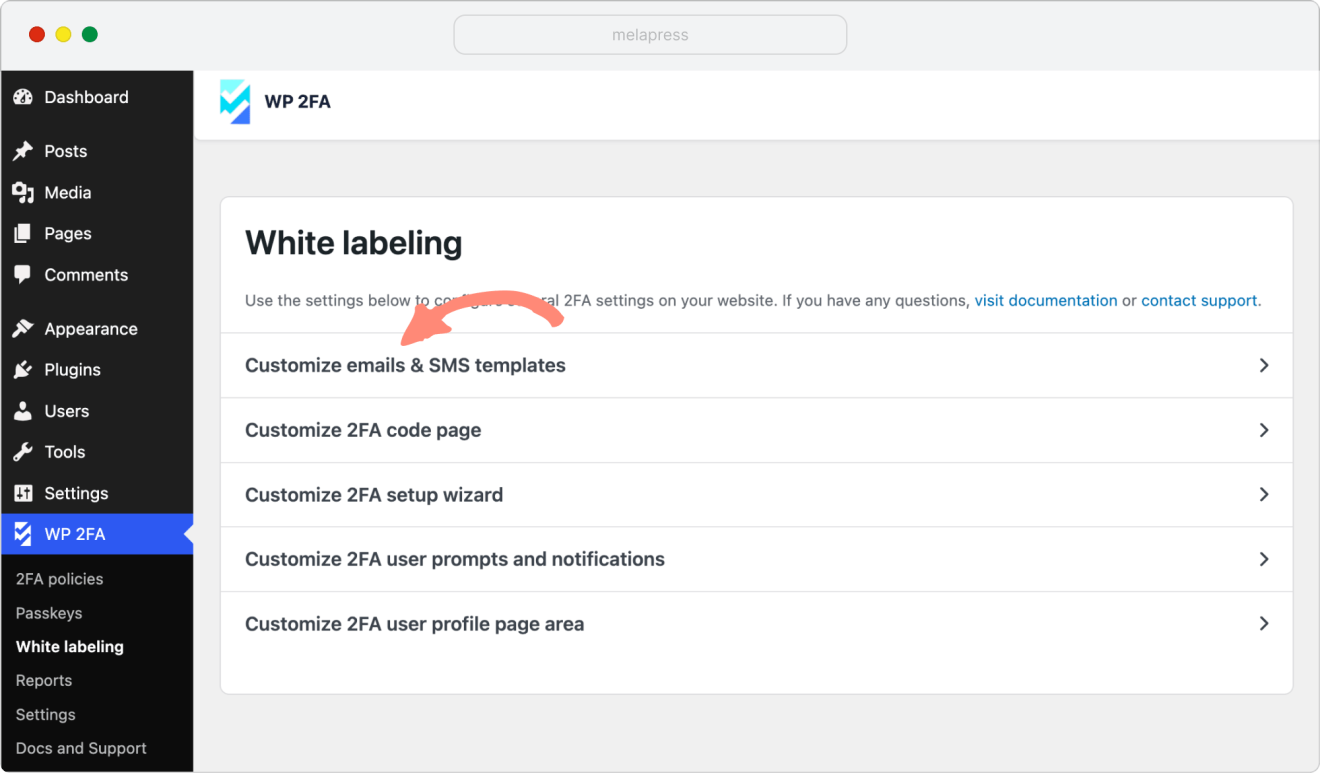
This page includes three tabs with the following options:
- Email Settings: change the sender email address and name, and send a test email.
- Email Templates: customize the subject and content of individual WP 2FA emails and enable or disable specific email templates.
- SMS Templates: customize the text used for SMS registration and authentication codes.
How to change the sender email address and name
By default, the WP 2FA plugin uses your site’s admin email address and name.
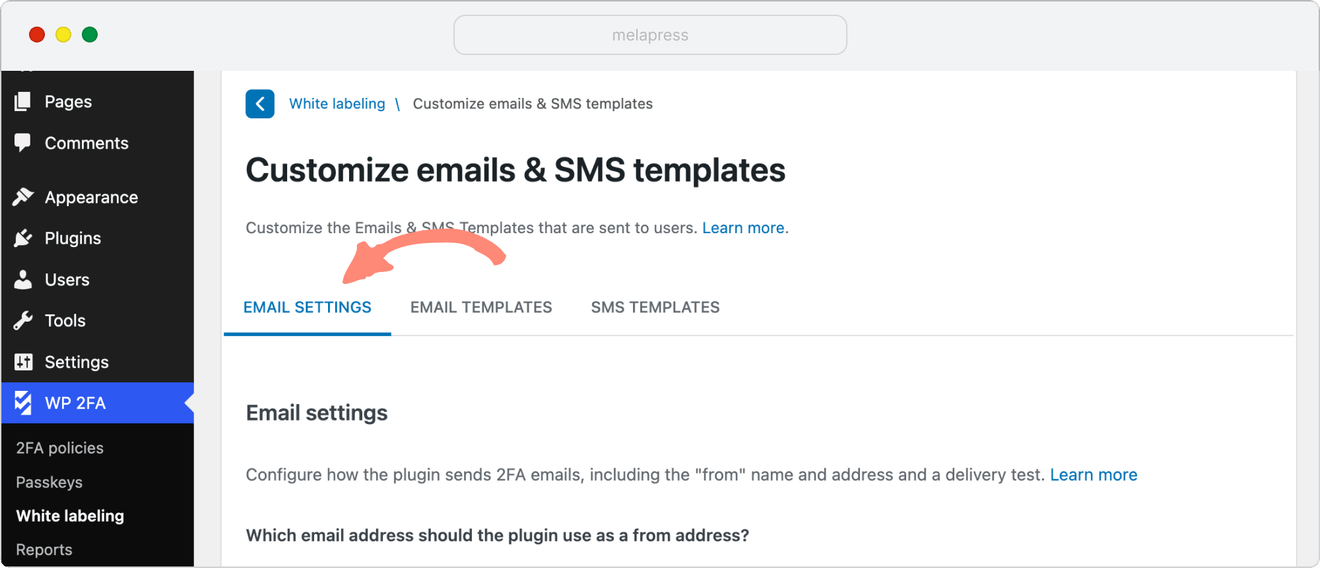
To change sender details:
- Go to WP 2FA > White labeling.
- Click Customize emails & SMS templates.
- Open the Email Settings tab.
- Under From email & name, select one of the available options:
- Use the email address – uses the email address configured in WordPress.
- Use another email address – allows you to enter a custom sender email address and name.
- Click Save settings.
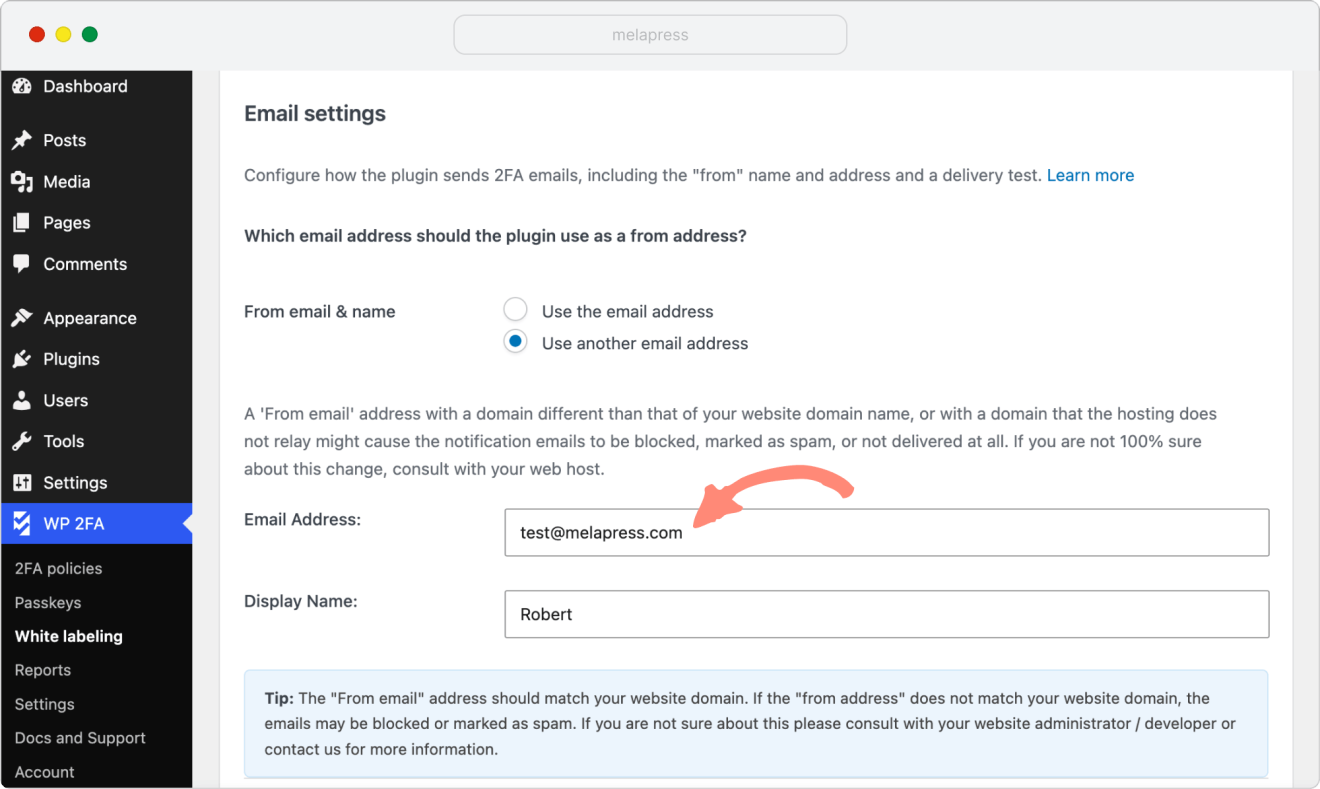
How to edit an email template
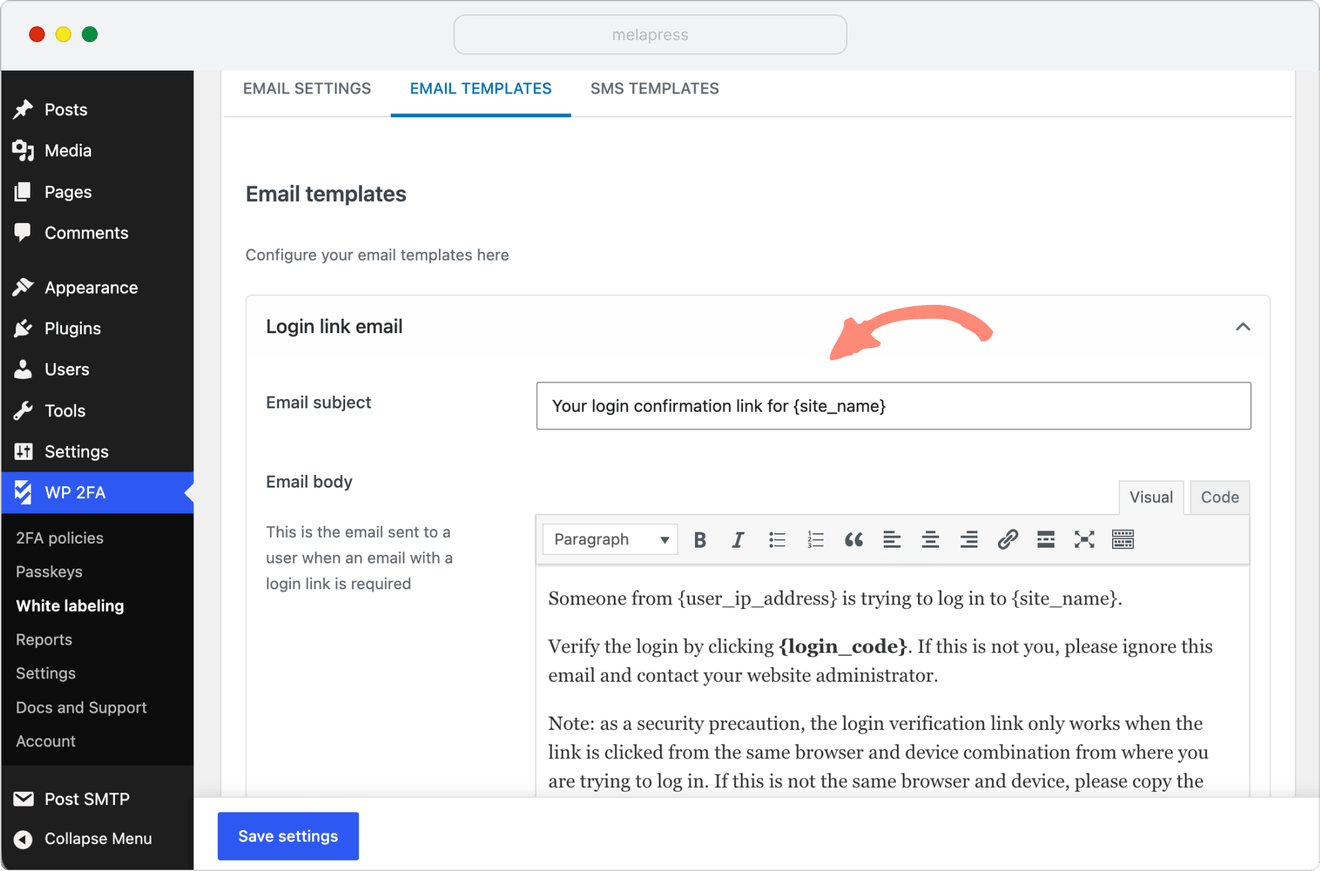
Open the Email Templates tab and select the email you want to customize.
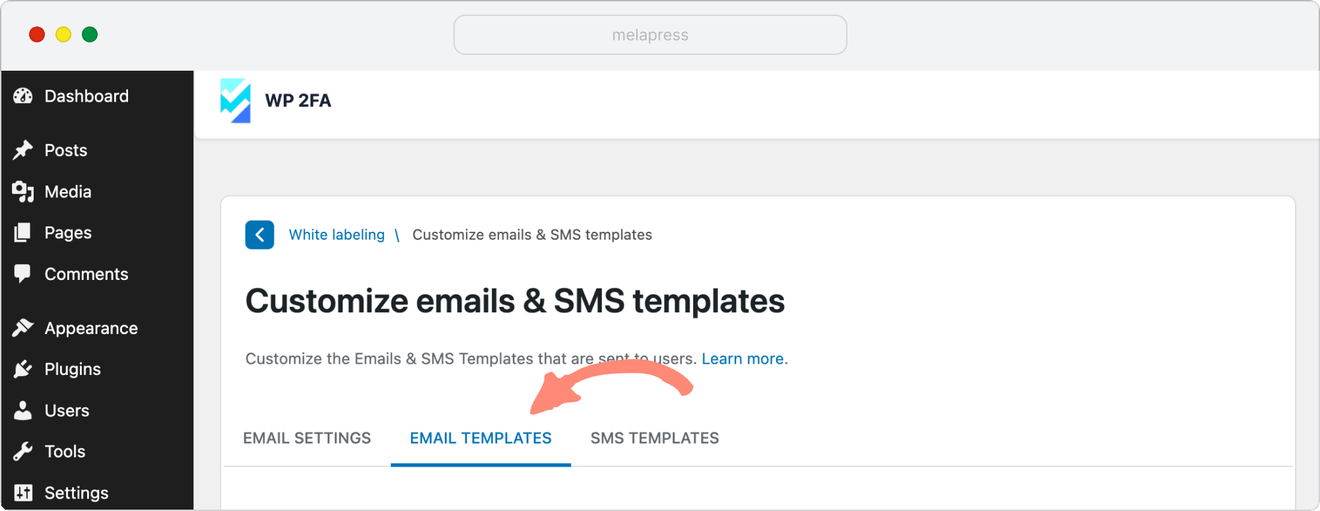
Depending on the template, you can change its subject and email content. You can also use template tags to automatically include information about the website, user, or 2FA request.
For example, the screenshot below shows the Login link email template, where you can customize the email subject and body.
The email editor supports HTML, so you can also customize the formatting and branding of your emails.
What are template tags?
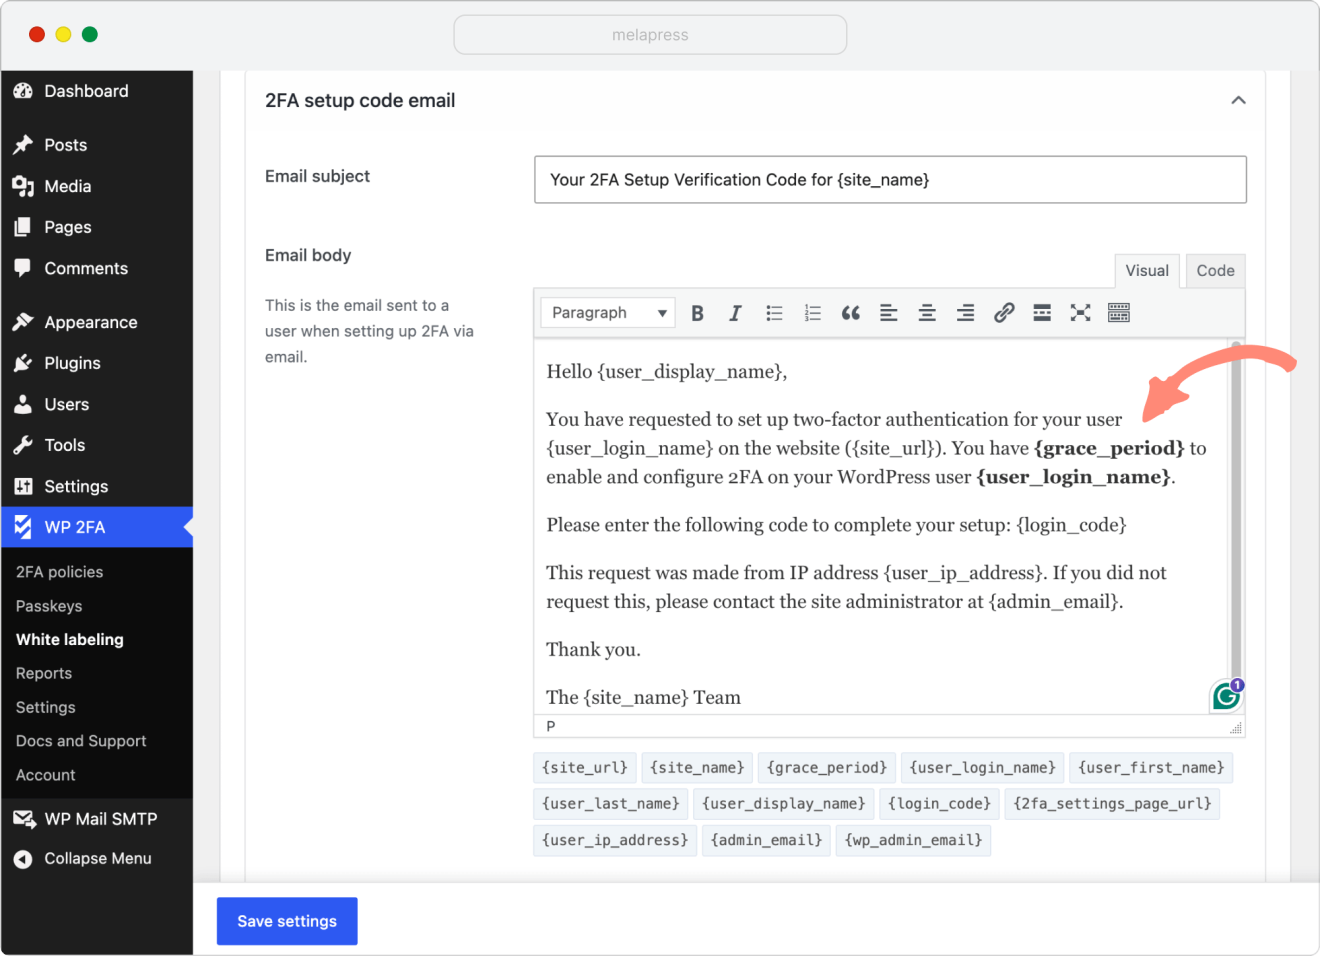
Template tags are placeholders for information that WP 2FA automatically adds when it sends an email.
For example, if you add {site_name} to a template, WP 2FA replaces the tag with the name of your website when the email is sent.
Available template tags include:
{site_url}— Adds the website URL configured in WordPress.{site_name}— Adds the website name configured in WordPress.{grace_period}— Adds the configured 2FA grace period.{user_login_name}— Adds the user’s login name.{user_first_name}— Adds the user’s first name.{user_last_name}— Adds the user’s last name.{user_display_name}— Adds the user’s display name.{login_code}— Adds the 2FA login code or login link.{2fa_settings_page_url}— Adds the URL to the user’s 2FA settings page.{user_ip_address}— Adds the IP address from which the 2FA request originated.{admin_email}— Adds the site administrator email address.{wp_admin_email}— Adds the WordPress administrator email address.{backup_codes}— Adds the list of backup codes.
WP 2FA replaces the template tags with the relevant values when it sends the email.
For example, if you use {site_url}, {grace_period}, and {user_login_name} in a template, WP 2FA replaces them with the website URL, configured grace period (for example, 3 days), and user’s login name.
Send a test email after making changes
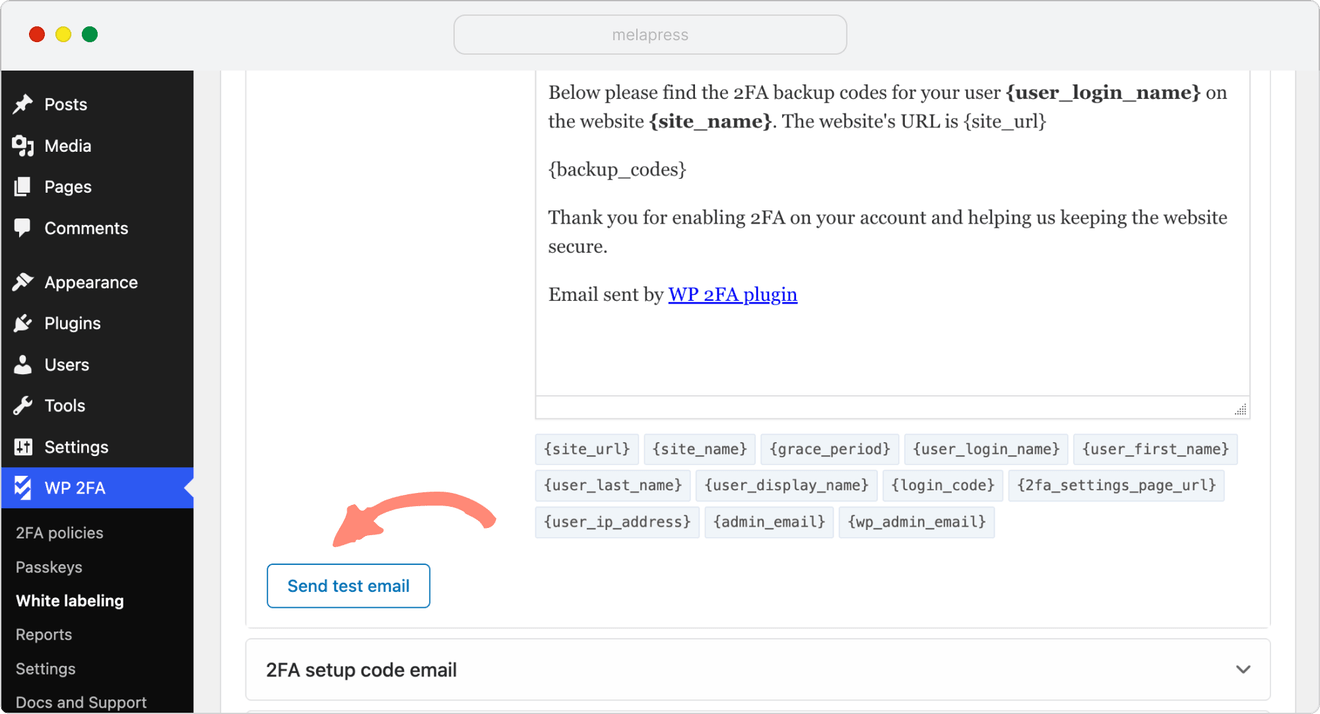
After changing your email templates or sender details, send a test email to check that the message displays correctly and that any template tags are replaced with the expected information.
Use the Send test email button available in each email template section.
How to edit SMS templates
If you use SMS as a 2FA method, you can also customize the text of the SMS messages WP 2FA sends to users.
To edit the SMS templates:
- Navigate to WP 2FA > White labeling > Customize emails & SMS templates.
- Open the SMS Templates tab.
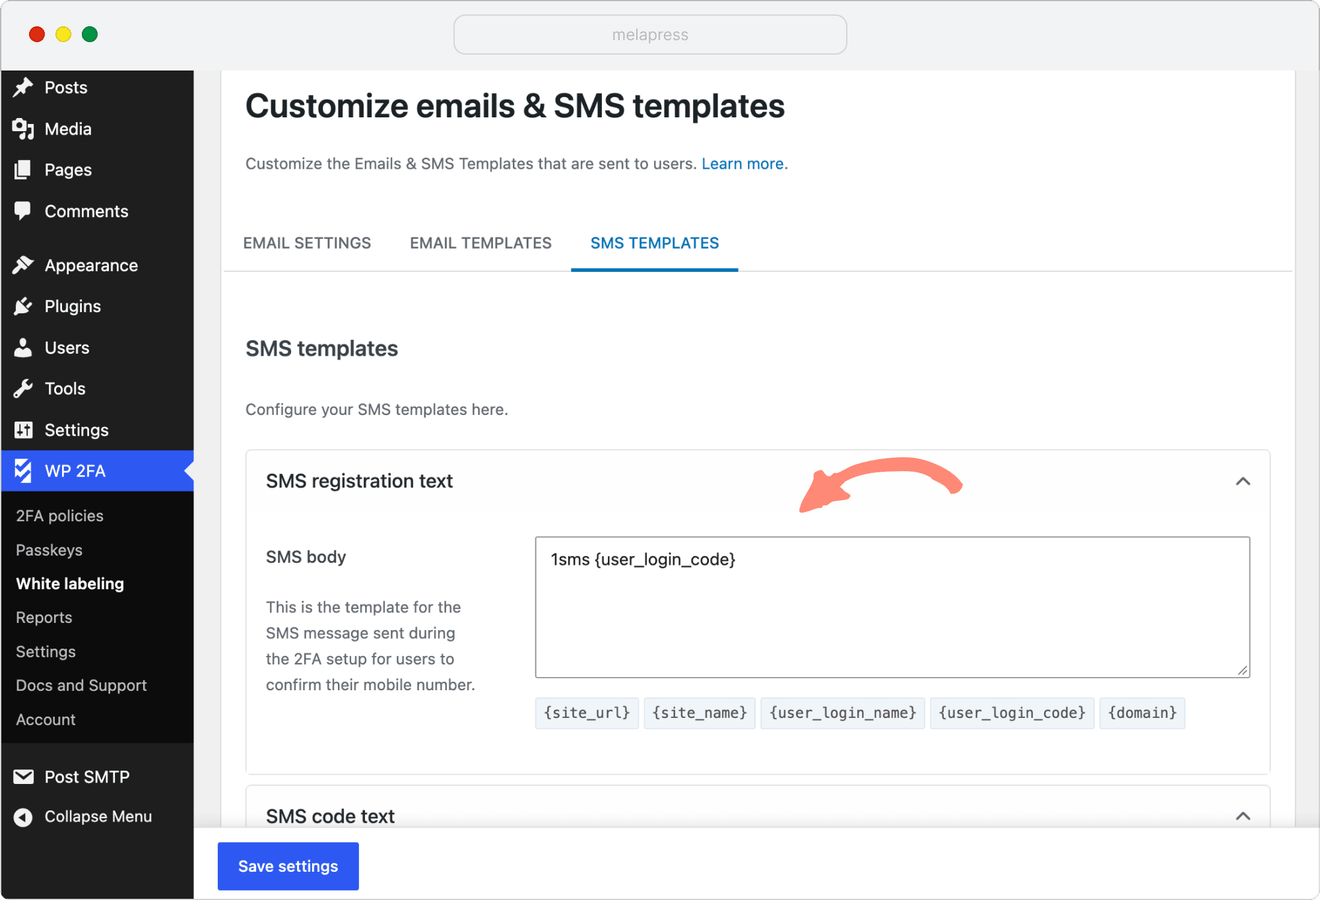
- Edit the text for either of the available SMS templates:
- SMS registration text — The message sent during 2FA setup when a user confirms their mobile number.
- SMS code text — The message containing the one-time code sent when a user authenticates.
- Use the available template tags to automatically include information such as the site name, user login name, or login code.
- Click Save settings.
The available SMS template tags include:
{site_url}— Adds the website URL.{site_name}— Adds the website name.{user_login_name}— Adds the user’s login name.{user_login_code}— Adds the user’s one-time authentication code.{domain}— Adds the website domain.
For example, the SMS code text could be:
{site_name} login code: {user_login_code}
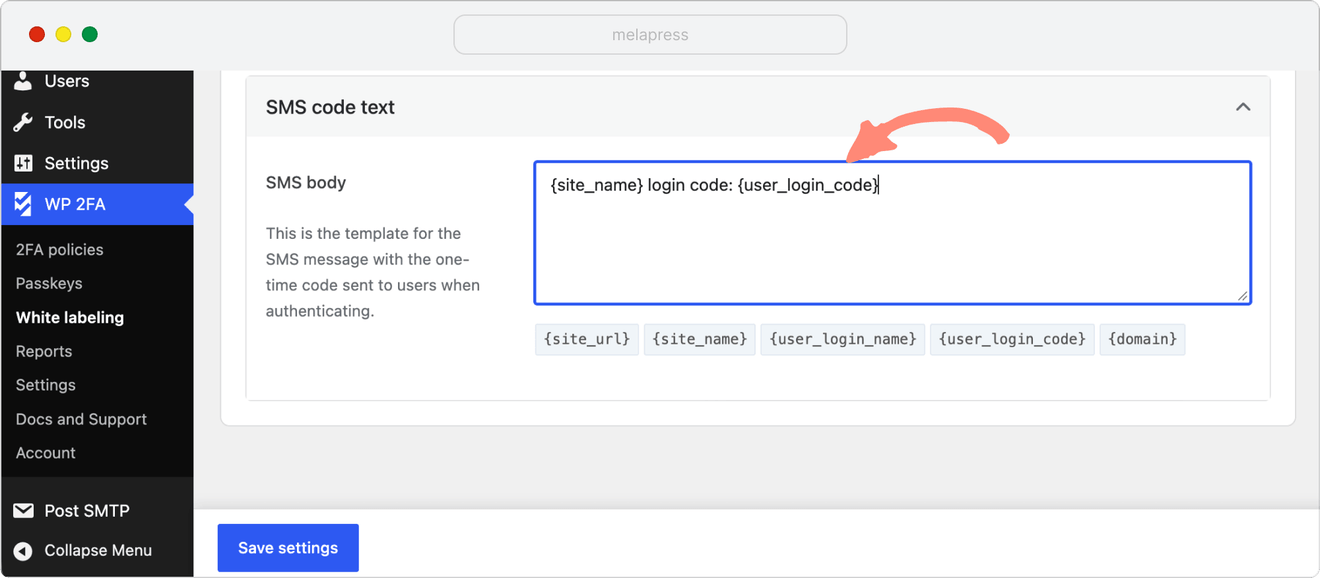
When WP 2FA sends the SMS, it replaces the template tags with the relevant values.
If you need any help customizing your WP 2FA email or SMS templates, or configuring the sender settings, our support team is happy to help.
