Search for answers or browse our knowledge base.
What are events and event IDs in the WordPress activity log?
Every entry in the WordPress activity log is an event, in which you can find the details about a change on a WordPress website. Every event type has an Event ID associated to it and every event is made up of a message and the metadata. This article explains what Event IDs are and how you can use them.
Introduction to activity log events
Every event in the activity log is made up of several data sets. For each event reported in the activity log, the plugin reports the following:
- event ID (further explanation below)
- severity level
- date & time
- user & role
- IP address
- object
- event type
- message (full explanation below)
The message format
The message dataset of the event is where you can see the details of the change. The message is made up of three different sections:
- the message itself which typically is a sentence that explains what happened
- the metadata such as post ID. This is the additional information you need to better understand what the event is about
- The links. These usually link to the object’s page.
Below is a screenshot highlighting the different sections:

The activity log event IDs
Introduction to the activity log event IDs
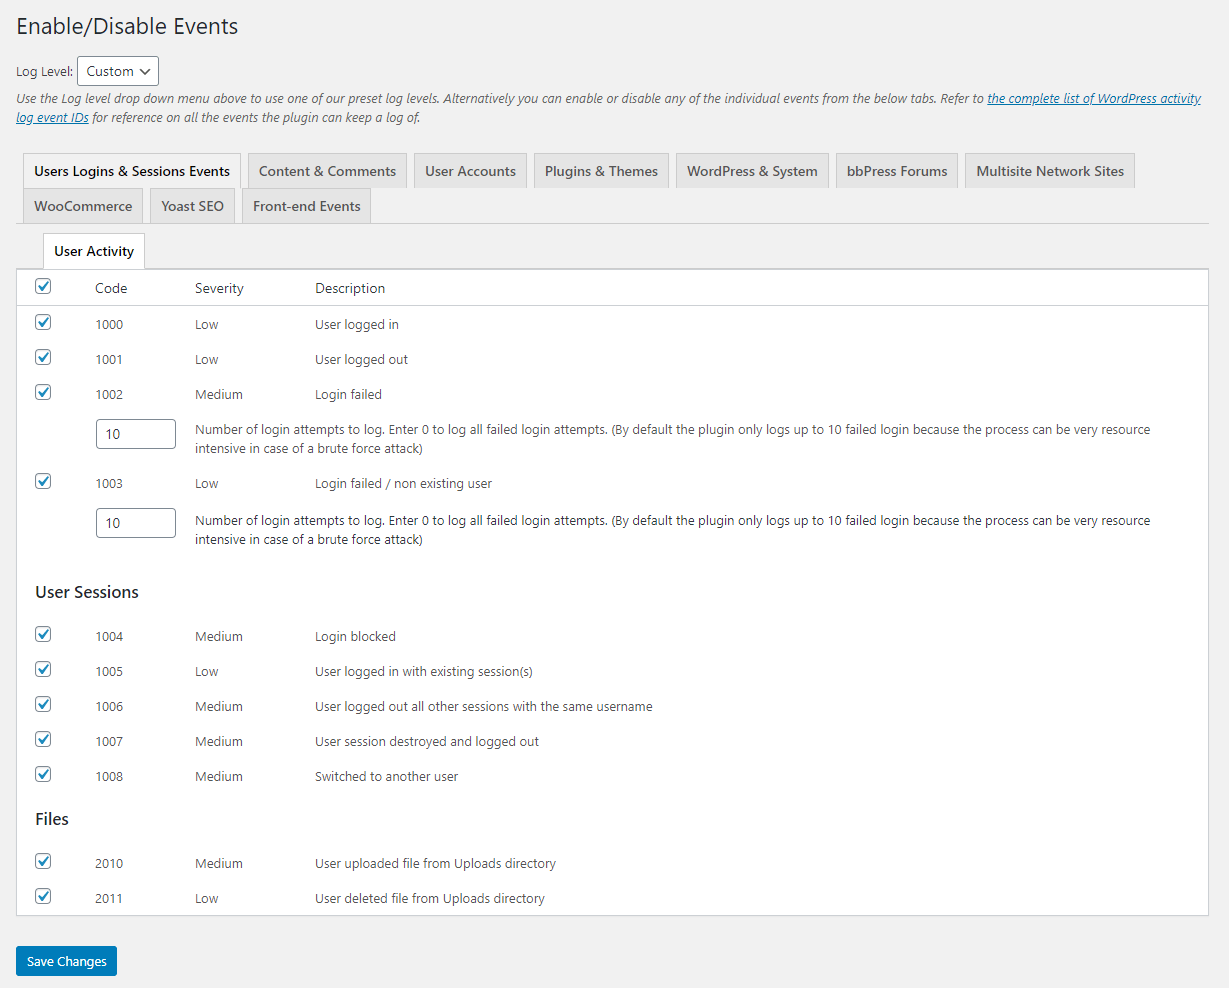
The concept of events and event IDs is the same as in the Windows event log: every type of change has an associated event ID. For example whenever a user logs in to WordPress, the event recorded in the WordPress activity log reports which user logged in, from where but will always have event ID 1000.
An event ID is associated with a specific change or action on WordPress, regardless of details of the change. Refer to the list of all the event IDs that are used in the WordPress security activity log to find out which ID is associated with a specific change.
Why are event IDs used?
Event IDs are like categories, they allow you to better understand and use the information in the WordPress activity log. Here are a few examples of how Event IDs make it easier to do specific tasks.

1: Searching for a specific WordPress change in the activity log
Imagine you need to find the last time the user robin logged in to your website. So if there were no event IDs to \”categorize\” the information you’d have to search for all events that have the user robin associated with them and then manually review the logs.
With event IDs you can simply search for all events that have the user robin associated with them and then filter the search results by event ID 1000 (WordPress user logged in). The result is a list of all the times user robin logged in to your website.

2: Easily generate reports of specific changes
Event IDs also make it very easy to generate specific WordPress reports. For example you need to generate a report of all the content changes on a published pages. From the list of event IDs we know that the ID for events that report content changes is 2065. So you can use the following criteria to generate the report:
- Post type is Page,
- Post status is Published,
- Event ID is XXXX (content changes).
3. Get notified of important changes that happen on your WordPress website
WordPress email notifications also depend on Event IDs. Let’s assume you would like to get notified every time someone does a plugin change, such as installs, activates, updates, deactivates or uninstalls a plugin. From the list of event IDs we know that:
- Event ID 5000 means a plugin was installed,
- Event ID 5001 means a plugin was activated,
- Event ID 5002 means a plugin was deactivated,
- Event ID 5003 means a plugin was uninstalled,
- Event ID 5004 means a plugin was updated.
By configuring the following WordPress email notification trigger you will get an email alert whenever someone installs, activates, upgrades, deactivates and uninstalls a plugin on your WordPress website:
(Event ID is 5000) OR (Event ID is 5001) OR (Event ID is 5002) OR (Event ID is 5003) OR (Event ID is 5004)
The information in the WordPress activity log events
The information in each activity log event, especially the Event IDs are like the core of the WordPress activity log. Without this information it would be almost impossible to do searches, generate specific reports and get email notifications for when specific changes happen on your WordPress specific tasks. There is no need to learn the event IDs or list of objects by hearth: whenever you need to search for some specific change in the WordPress activity log, create an email notification, or report, simply refer to the list of Event IDs for the WordPress activity log and find the information that you want to use.
